A comprehensive guide to Acrylic (PMMA)
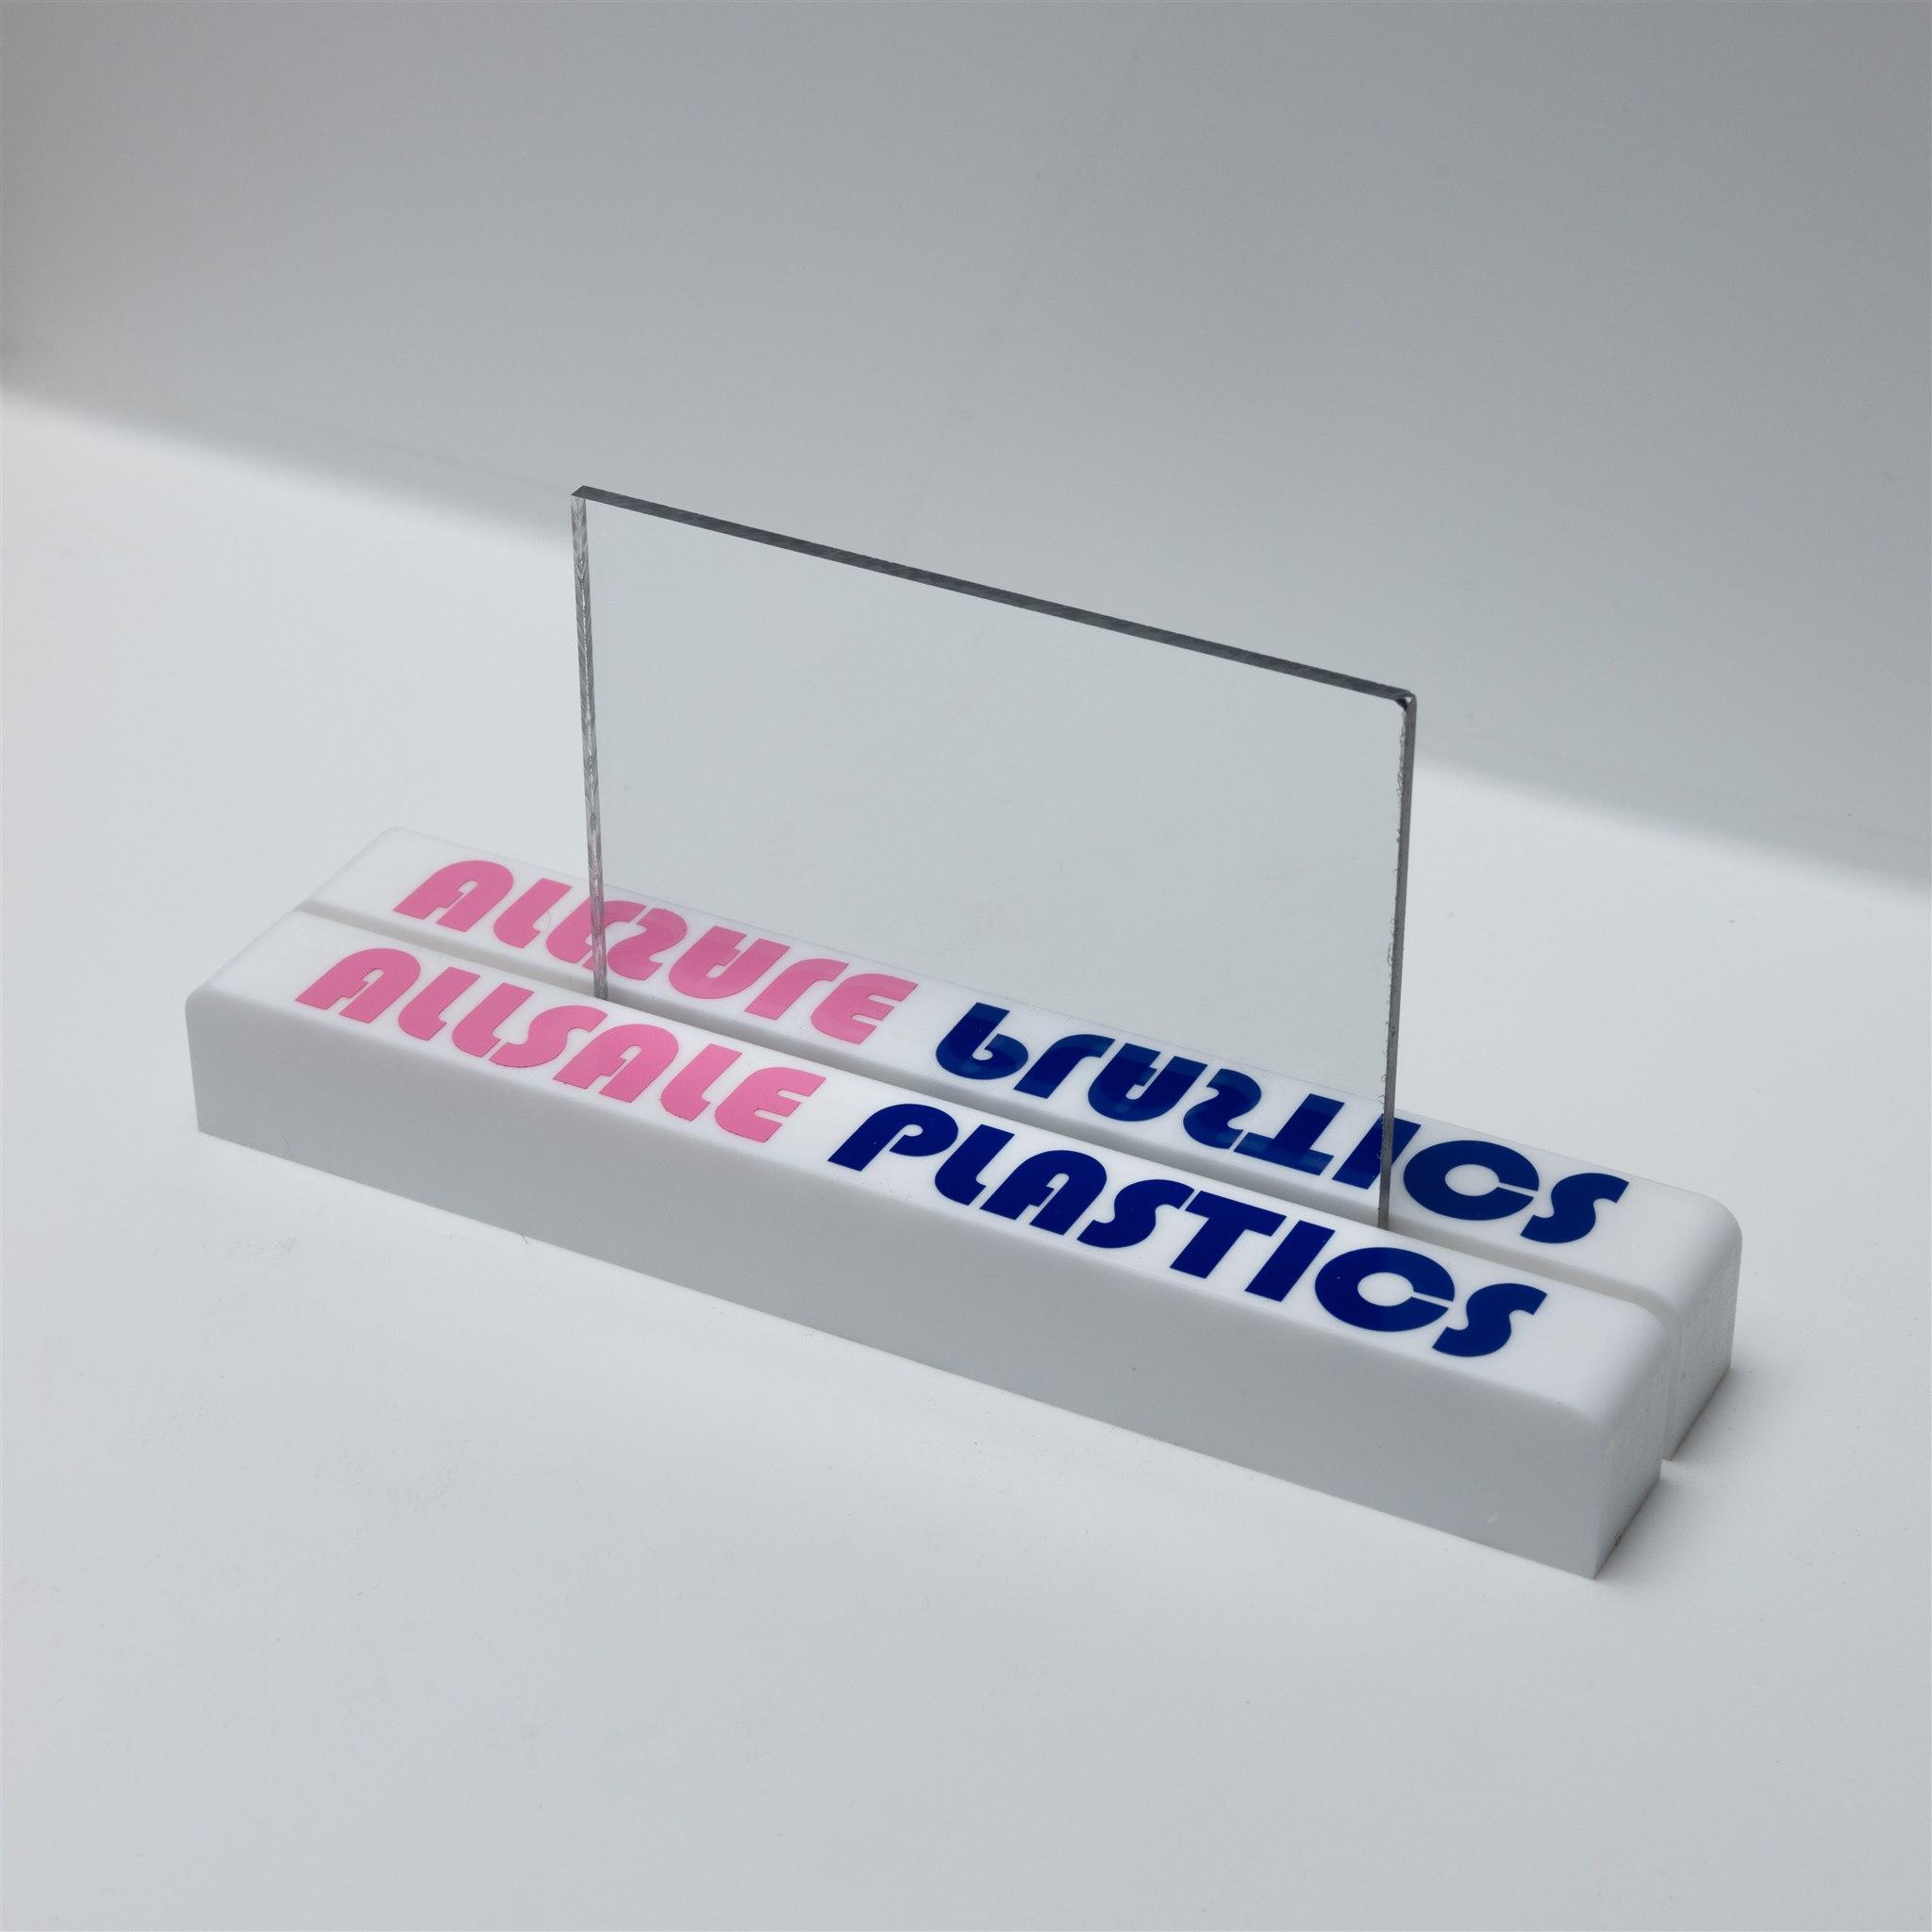
Acrylic is a thermoplastic available in a wide range of colours, thicknesses and sheet sizes. Clear Acrylic has glass-like transparency, letting through about 92% of visible light, and is popularly used in place of glass and other components requiring transparency. Acrylic can be molded, cut, heat bent, polished, laser cut and machined making it one of the most versatile material options to consider.
Compared to other plastics acrylic is generally readily available throughout Australia in thicknesses from 1.5mm all the way up to 50mm, although with the exception of black, white and translucent opal, coloured options tend to be limited to the 3-5mm range with some exceptions.
All our acrylic has virtually an unlimited life indoors, and the UV stable options are suitable for outdoor use, with a life expectancy of about 8-10 years before the material begins to deteriorate, becoming more brittle and marred. Fabrication can sometimes reduce the outdoor life expectancy as this often creates internal stresses in the plastic, this can be ameliorated through taking the extra measure of annealing the component after fabrication.
Acrylic is generally cheaper and the least impact resistant of other available clear plastic options (such as PETG and Polycarbonate) and can crack under stress or during machining. Acrylic can still scratch but is more resistant to abrasions and scratching than most other clear plastics including polycarbonate and PETG.
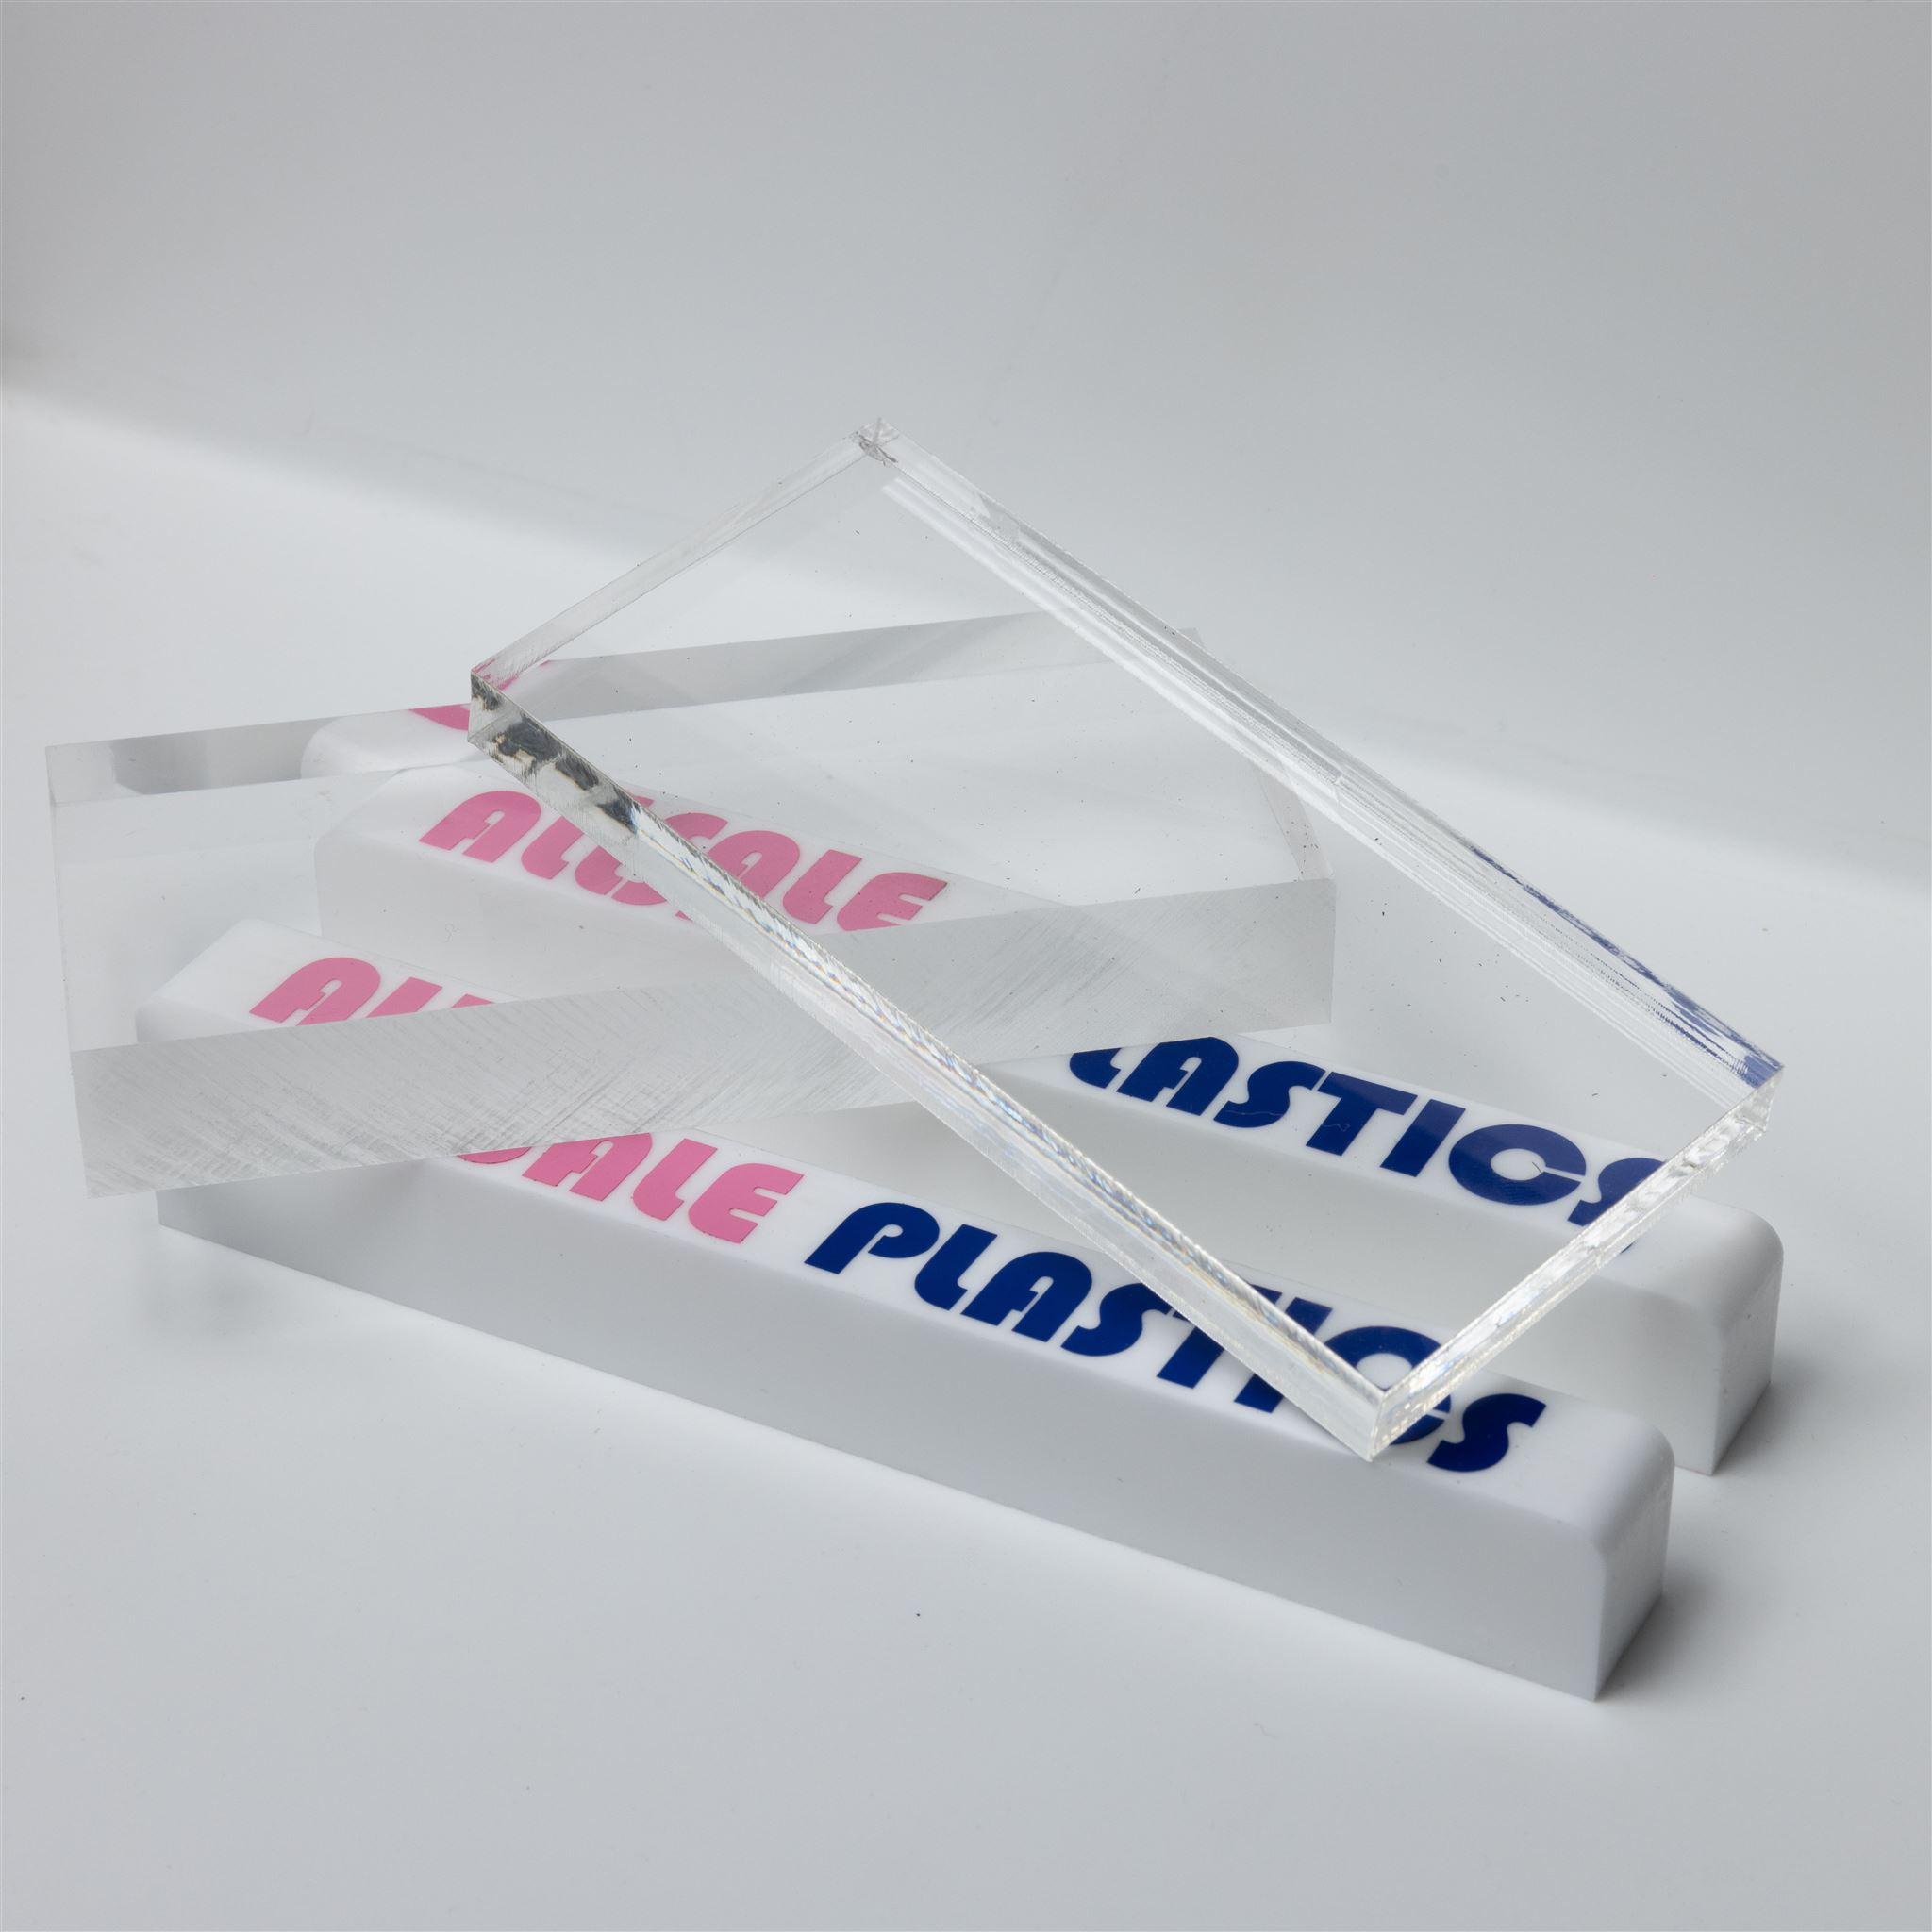
Applications of Acrylic
- Covid Screens
- Machine Guards
- Displays
- Signage
- Boat windows
- Decorations
- Aquariums
- Windows
- Ballustrading
- Fencing and pool compliance
- Plaques
- Weather and wear covers
Working with Acrylic
Drilling
Acrylic can be drilled at home, although care must be taken to avoid cracking or chipping. Don’t use your drill on a hammer drill setting and stick to HSS (High speed steel) drill bits rather than woodworking or masonry bits. Whenever possible leave as an absolute minimum one drillbit width from the edge of a panel. The closer to the edge, the more likely cracking will be. Always go straight for the final hole diameter required, enlarging existing holes is risky and usually causes breaking and cracking.
During drilling apply minimal pressure with the panel held down firmly to a sacrificial board underneath. Reduce force and plunging speed as you reach the opposite face to help prevent the panel lifting as you break through which can cause cracking.
Cutting
Cutting acrylic can be achieved with most power tools, for example panel saws, jigsaws and circular saws. For circular saws stick to sharp blades with carbide teeth, and try to only use that blade for acrylic, as other materials can dull the teeth and cause an inferior finish when used again on acrylic. The same principle applies with Jigsaw blades.
Similar to drilling above, ensure that the panel to be cut is held firmly and supported underneath close to the cutline to prevent violent vibrations and stresses which can lead to cracking the acrylic during cutting. Pay particular attention when the blade is accelerating or decelerating to or from its cutting speed, at low speeds if the blade catches on the edge of the acrylic, it may also cause chipping or cracking.
Edge Finishes
When Acrylic is cut, the cutting blade leaves visible abrasions on the edge of the finished piece as well as sharp edges. The sharp edges can be easily dulled down with a deburring tool, but achieving a visually appealing edge finish requires a bit more effort.
Polishing is the process of bringing a rough edge of an acrylic workpiece back to a shiny clear appearance almost identical to the clear face of the panel. This can be achieved with a few different processes and technologies.
Generally edge polishing is only required for parts in the public eye like signage, displays and decorations, and even then only if you deem it necessary. Also consider the thinner the workpiece, the less visible the edge will be. Before we go into some of the different polishing options available here are some examples of tooling marks left behind by different machining processes:
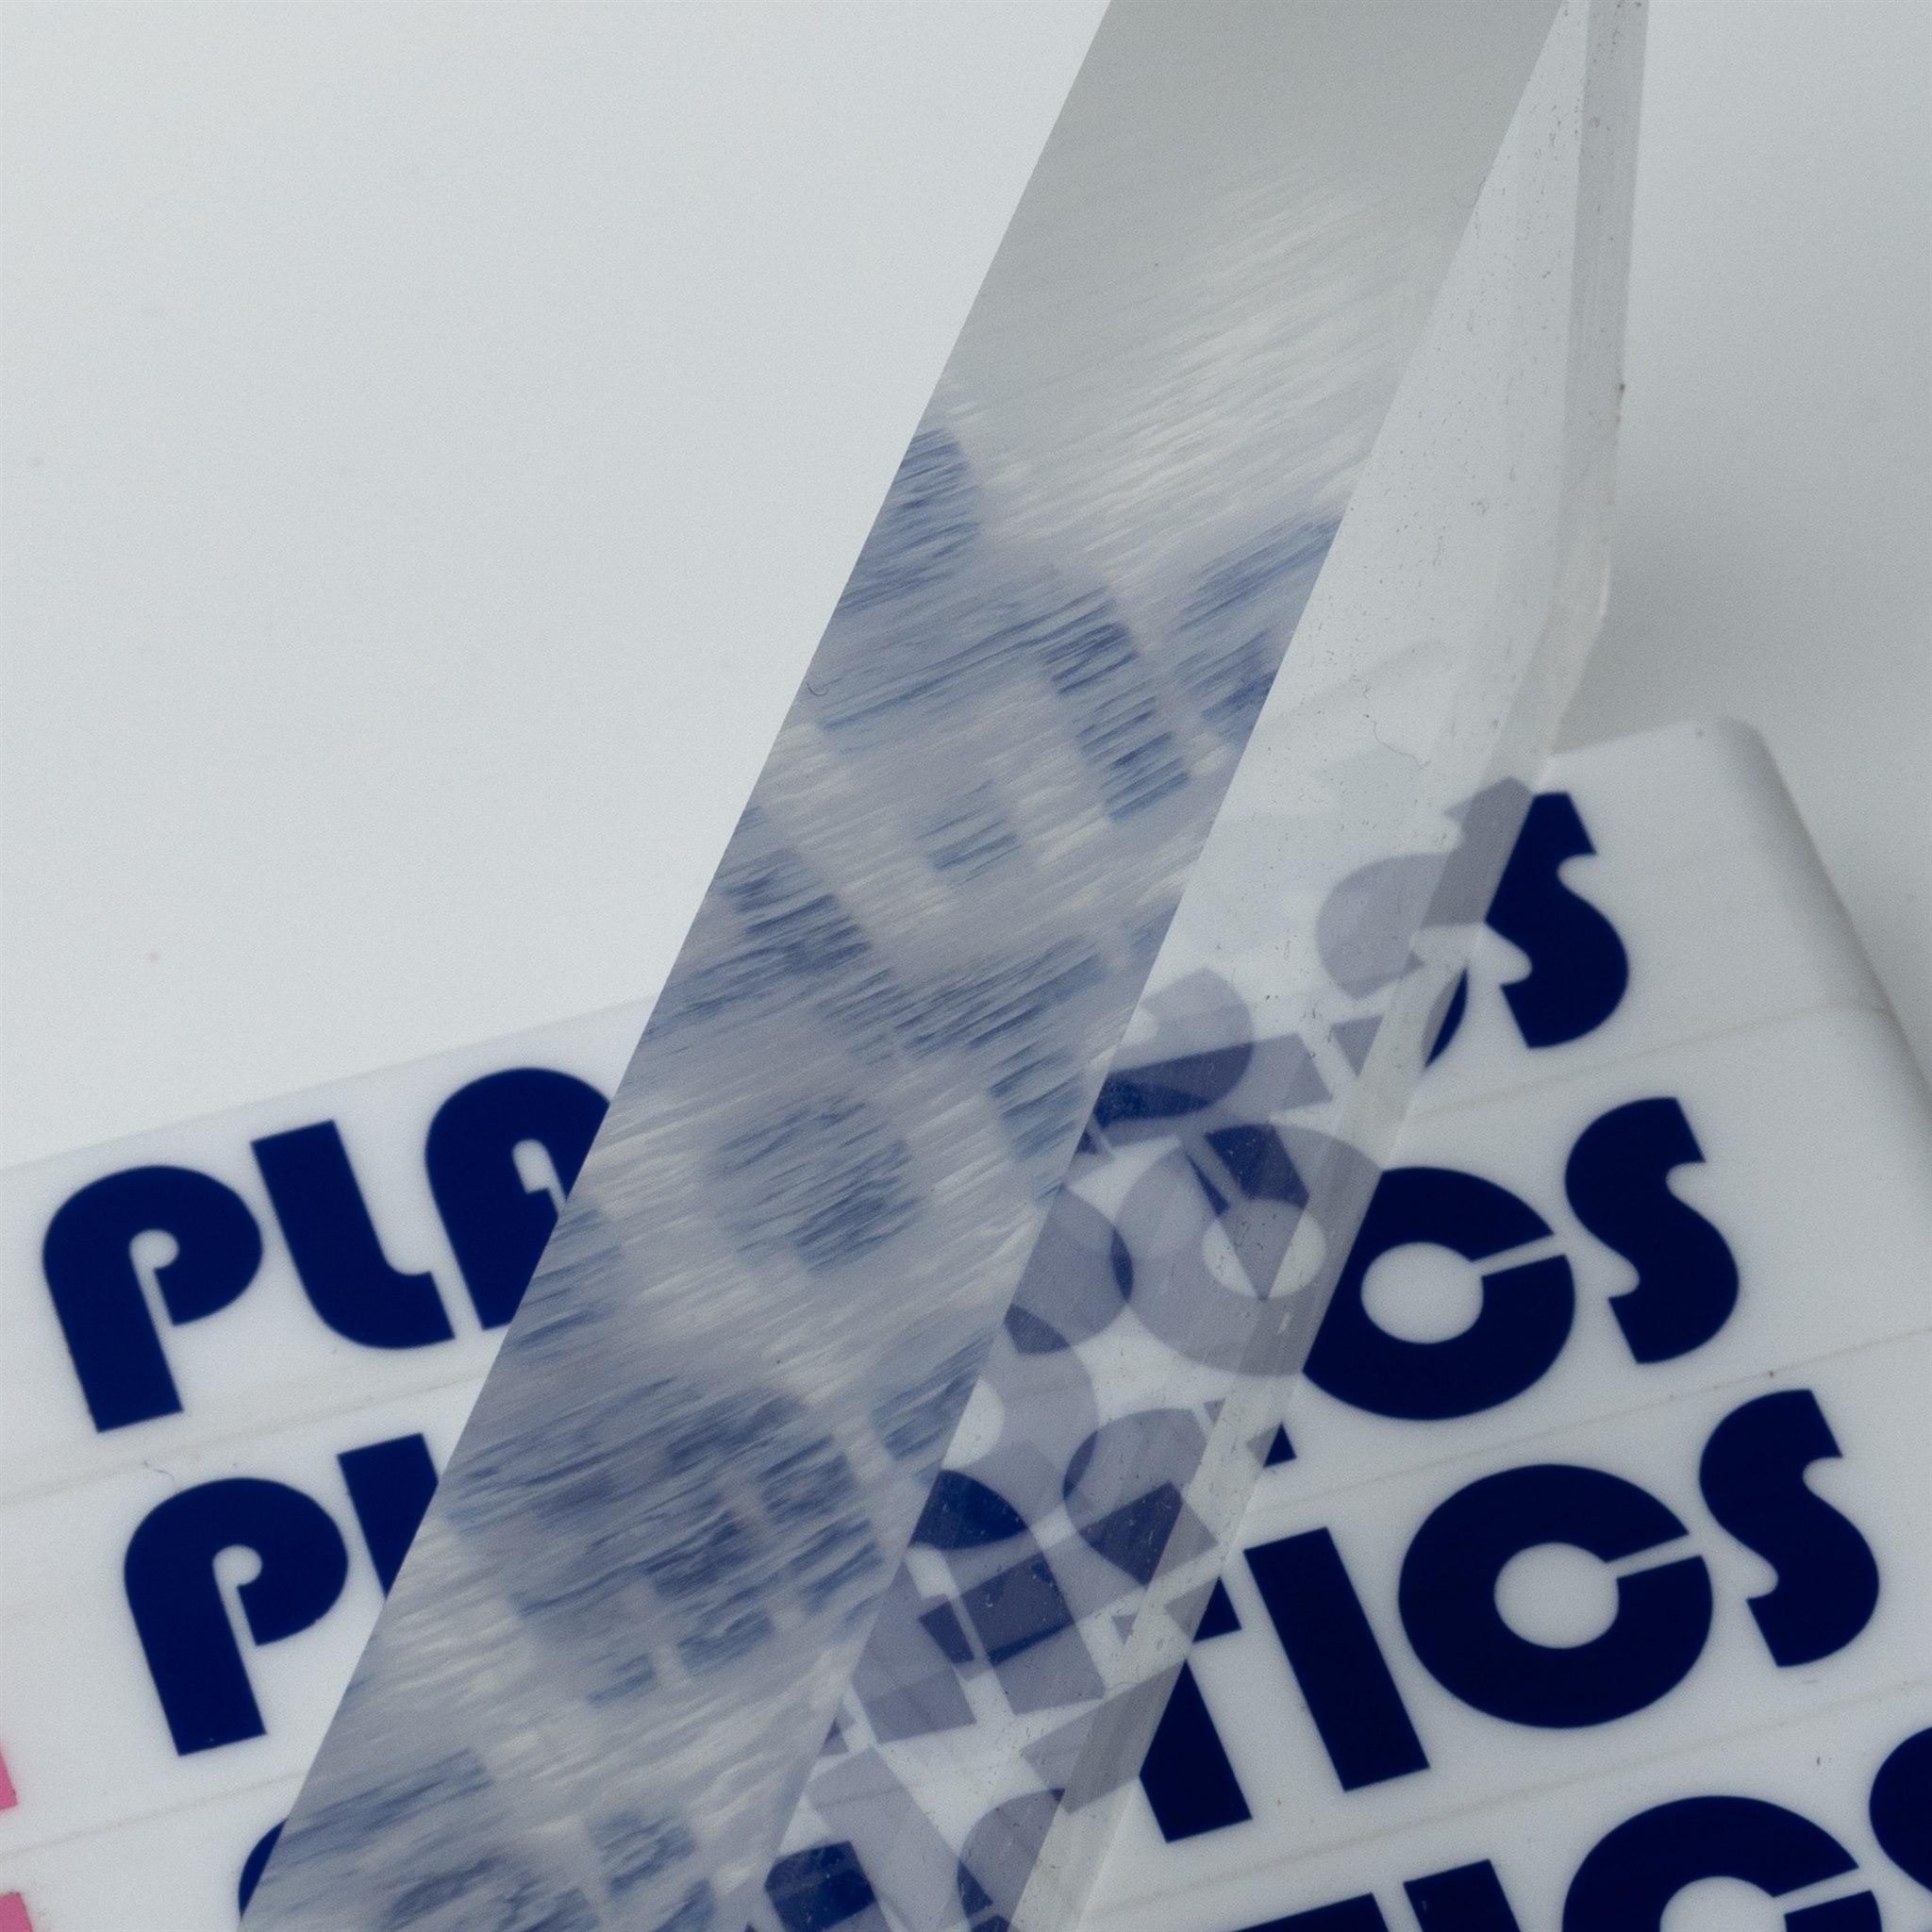
Laser finish
Although not strictly a polished edge finish, laser cutting does not produce abrasions or marks on an edge the same way mechanical machining does. The only marks left visible are small vertical lines from the high frequency pulsing of the laser beam as it works its way through the cut. Laser cut finishes are shiny with the pulsing lines being the only imperfection, but for many provides a good enough finish for their needs, especially on thinner stock where the edge is less visible.
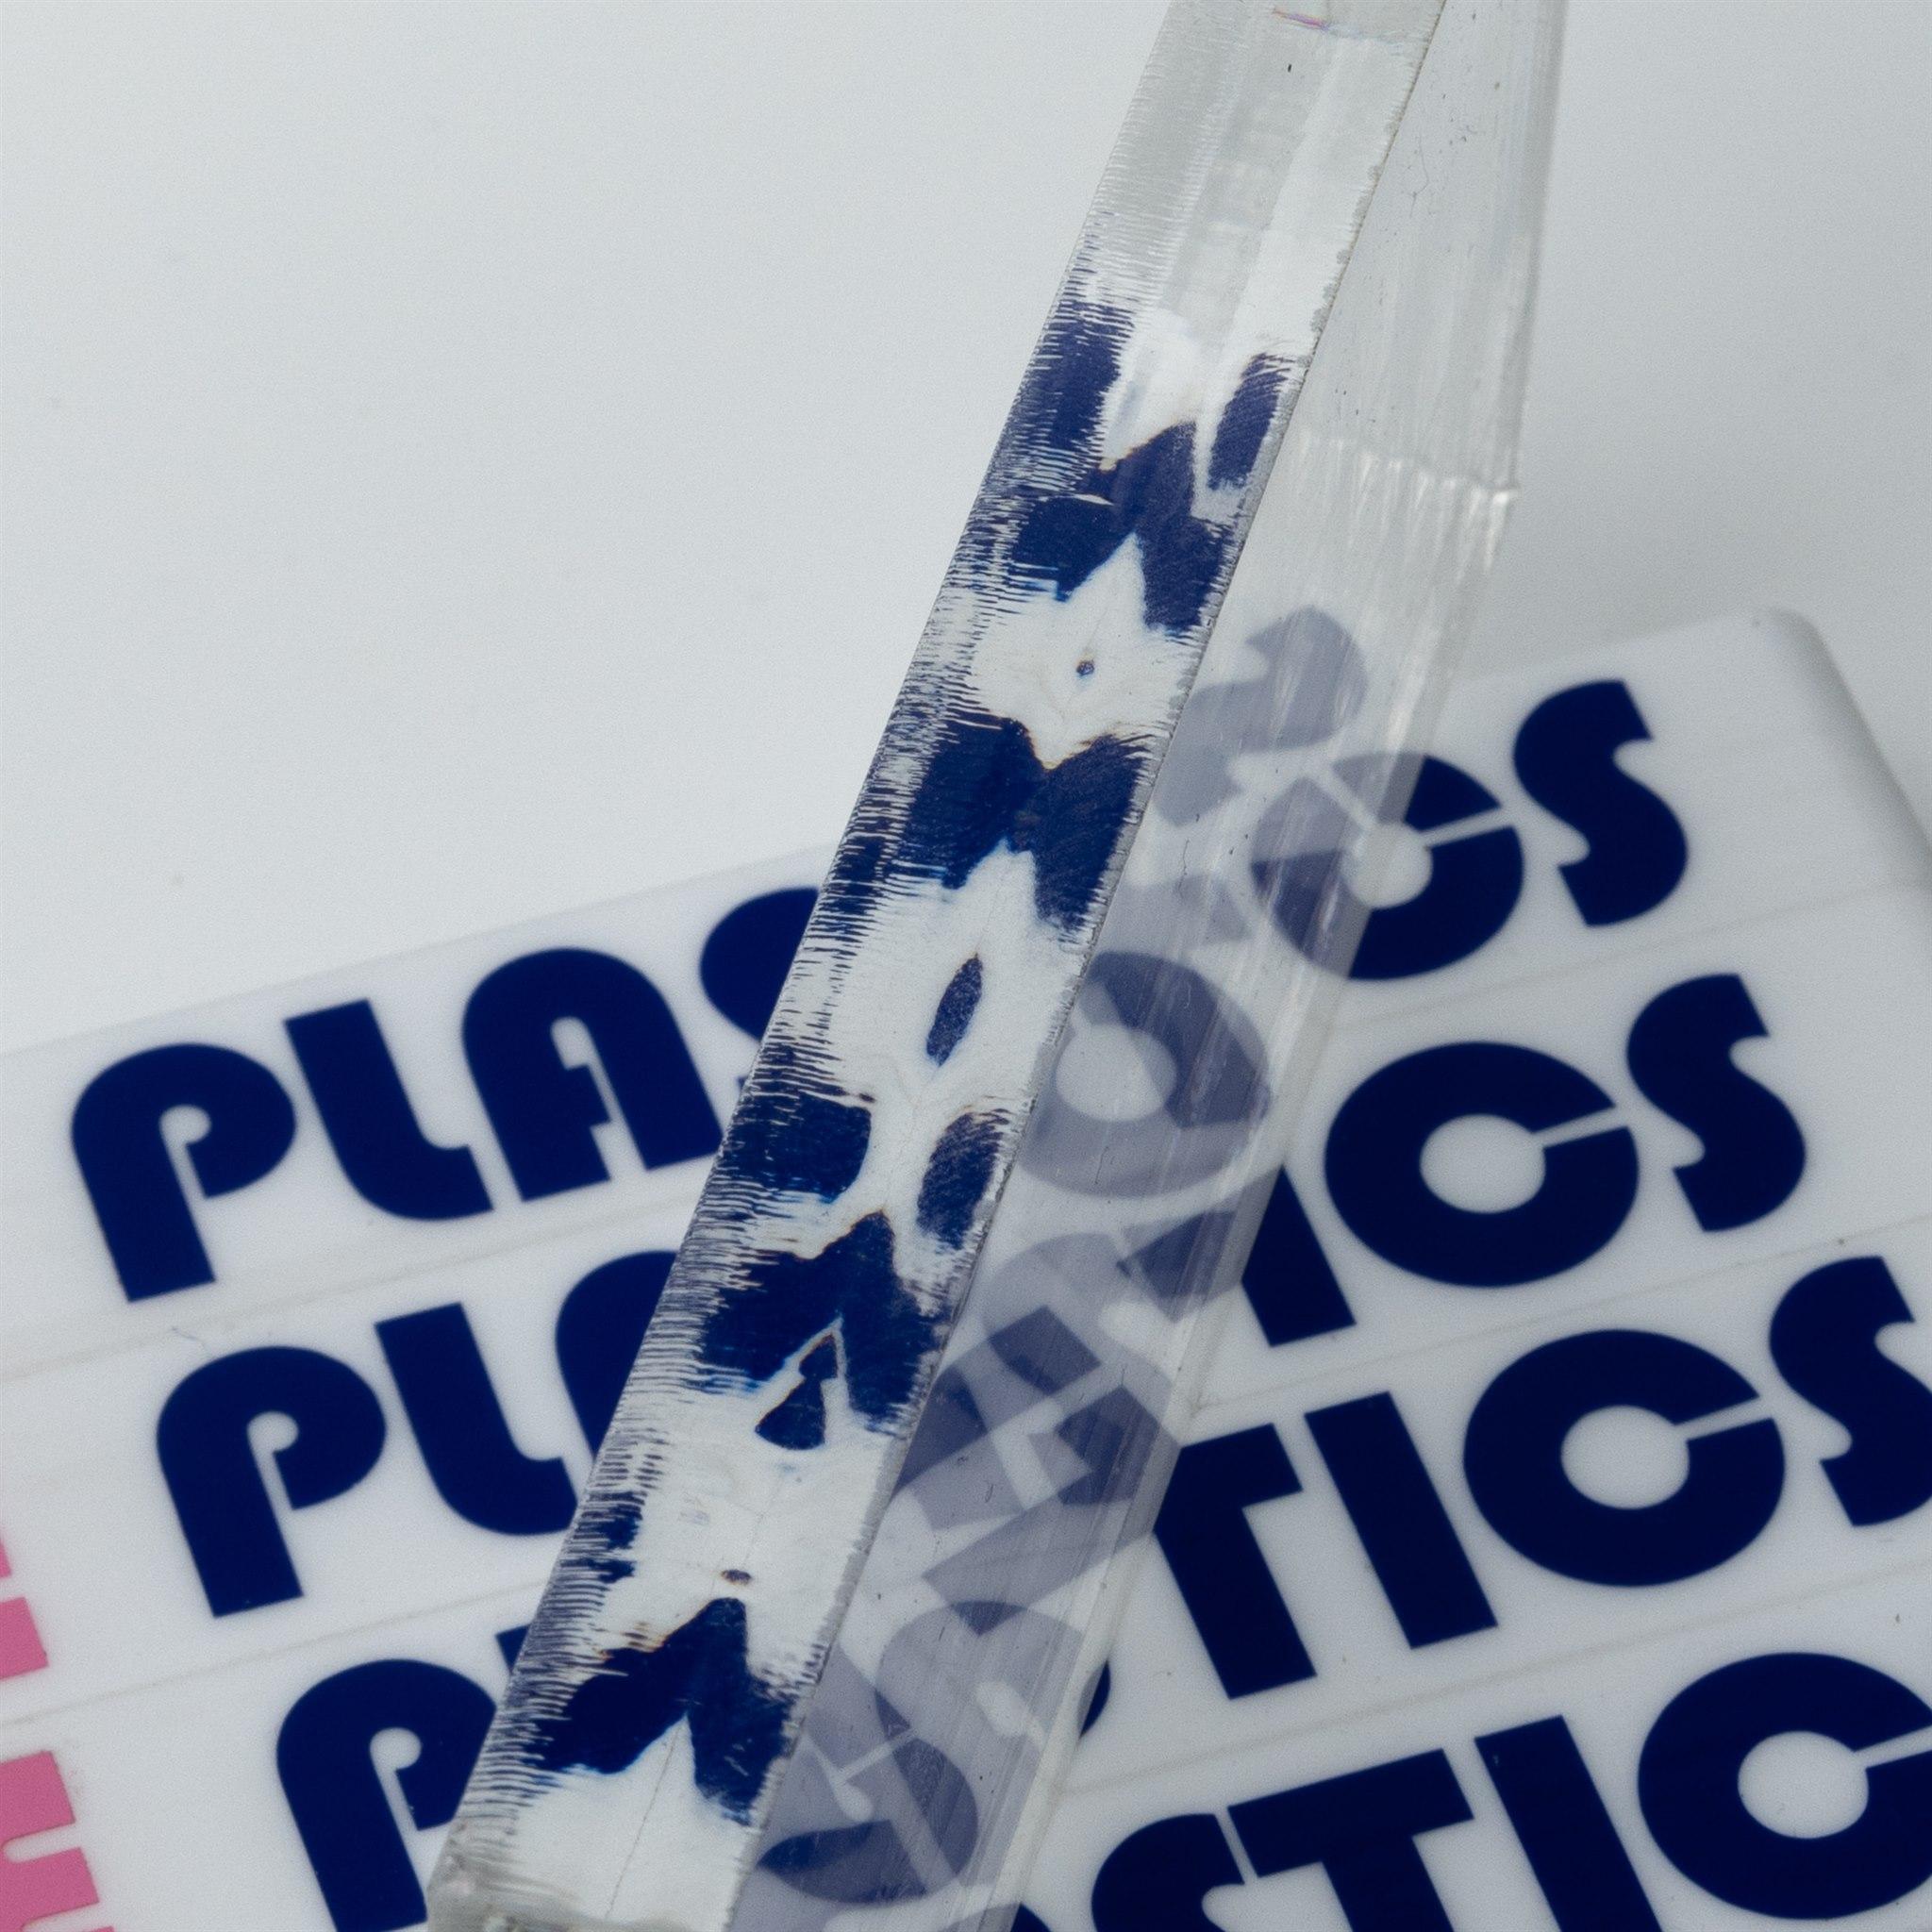
Diamond polished finish
Diamond polishing machines strip away a small portion of the edge surface using very stable diamond tipped tools which are so sharp that they do not leave abrasions when performing this process. With no abrasions, the edge is returned to a high-gloss and transparent finish. Diamond polishing can only be used on flat and straight edges.
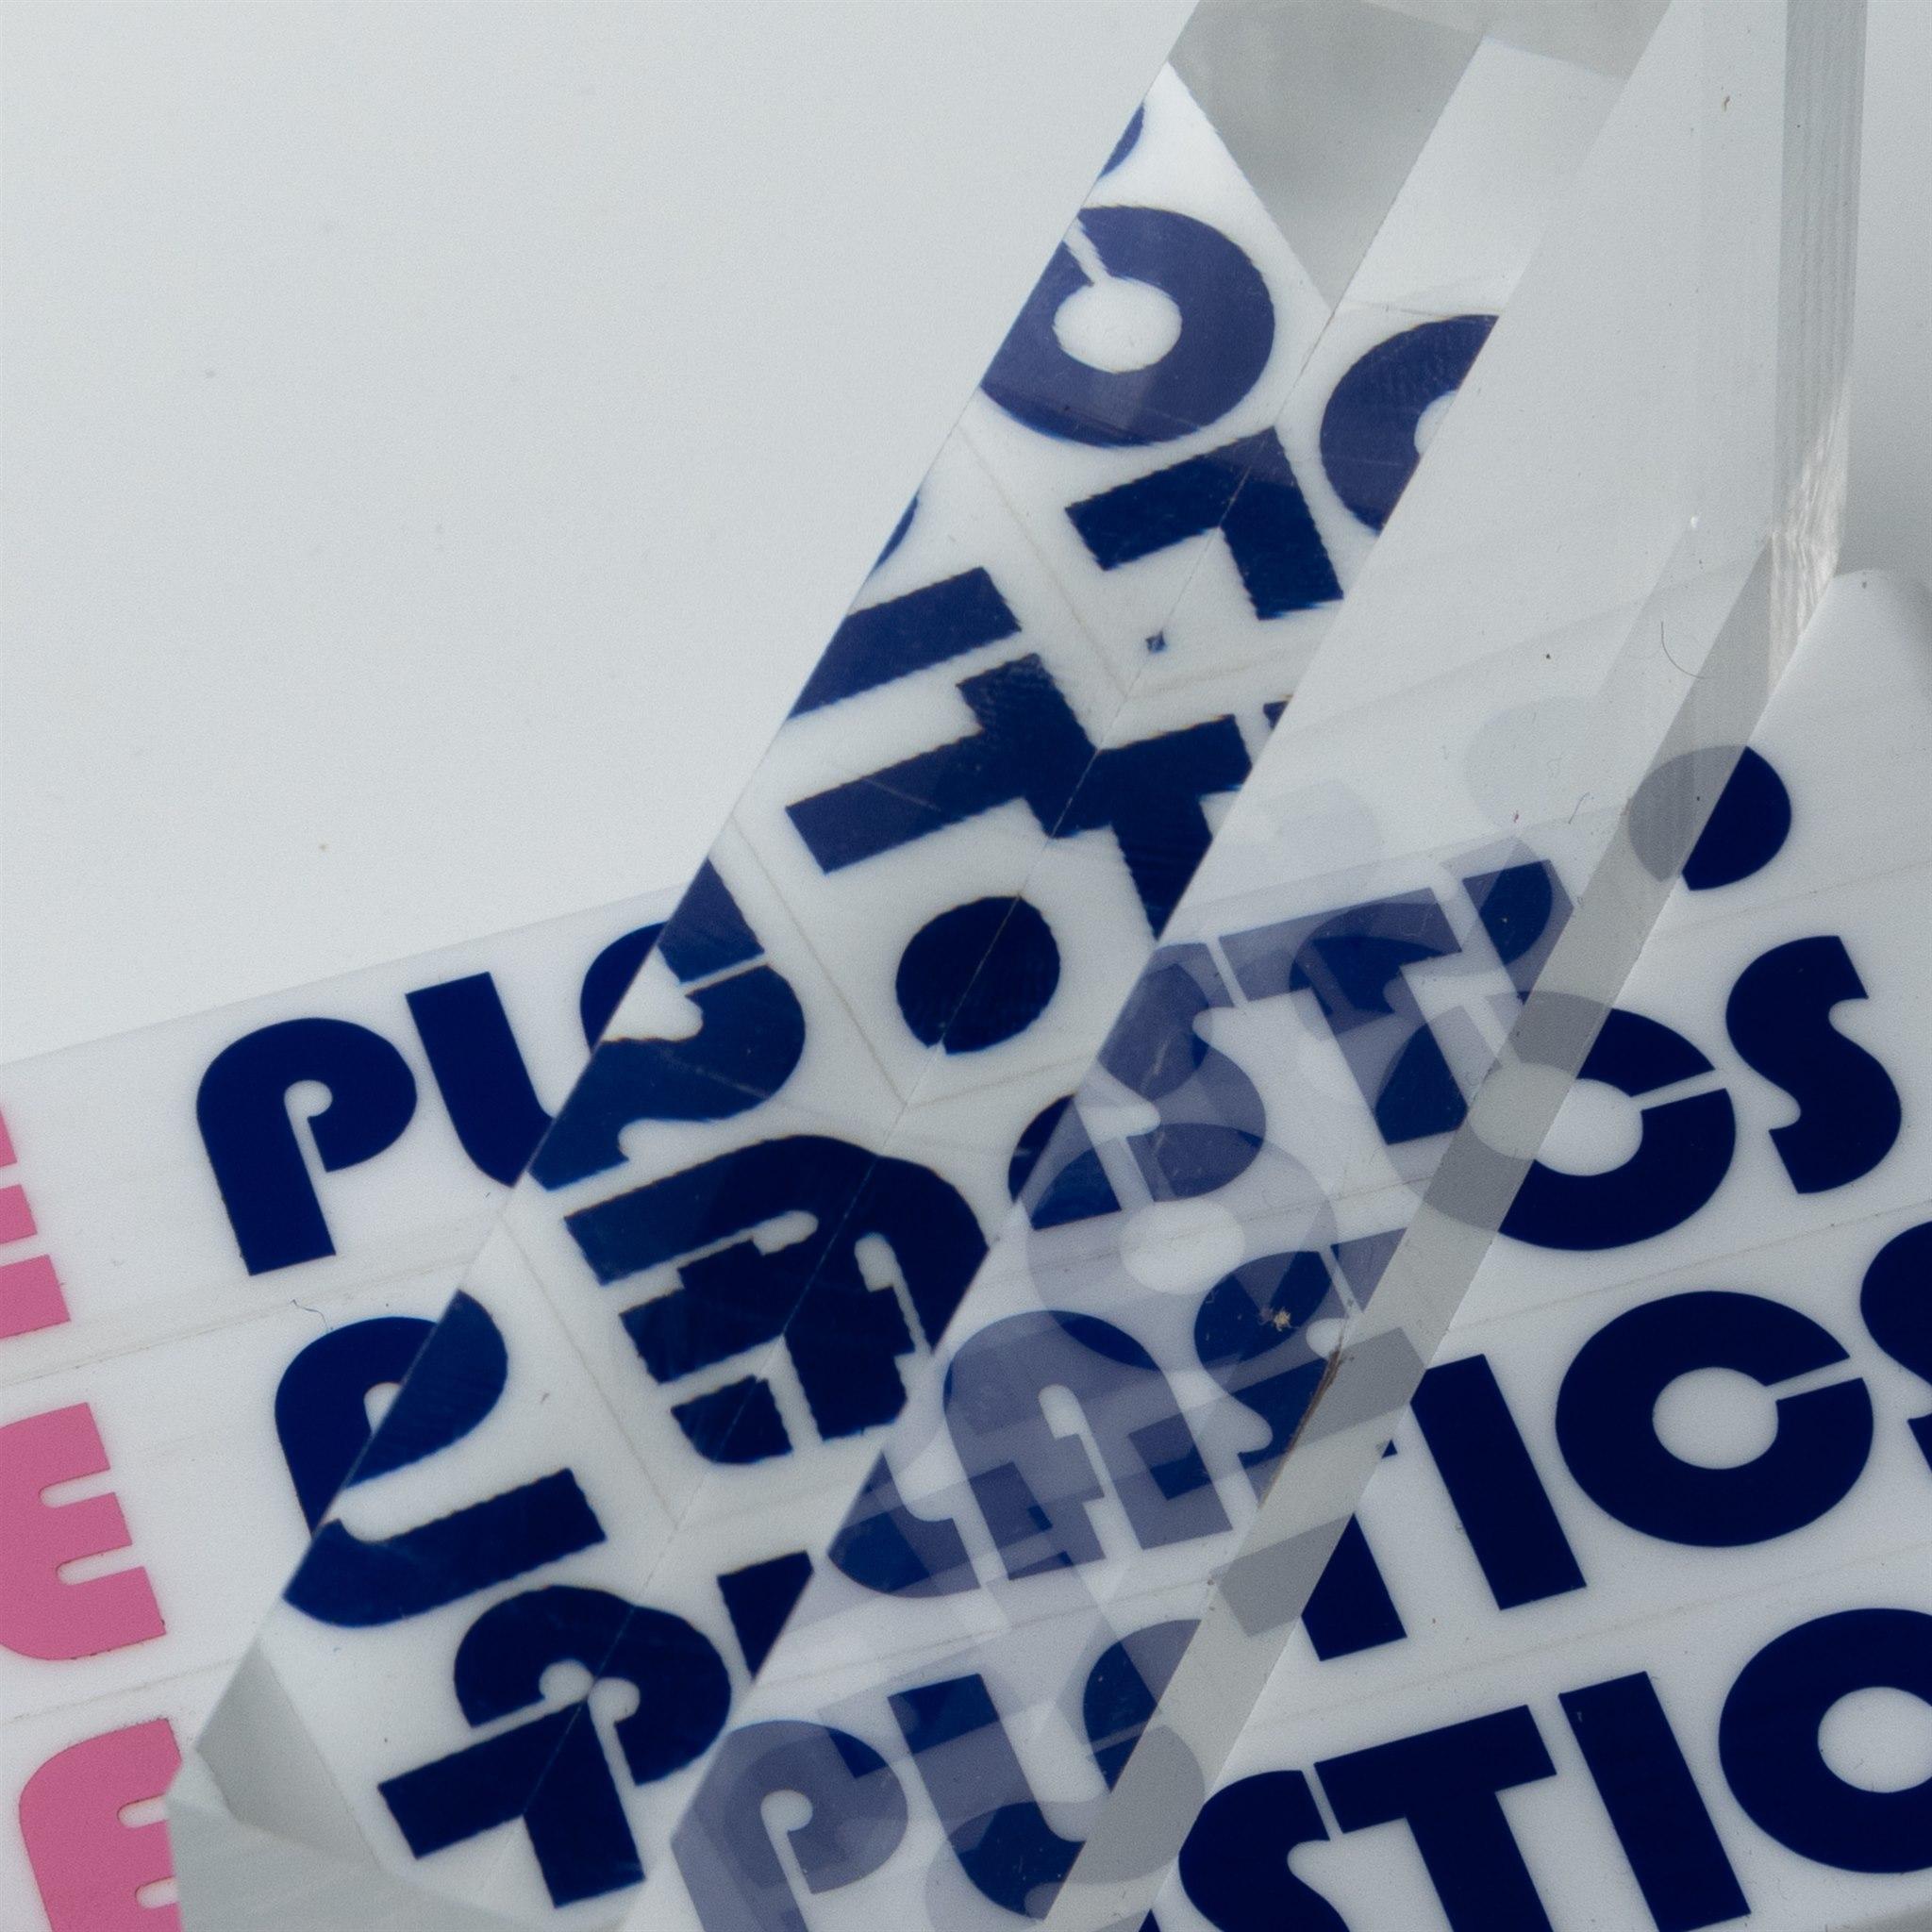
Sanded and buffed finish
Sanding the workpieces serves to reduce the abrasions from the cutting tools down to very fine imperfections by gradually increasing the grit of sandpaper used. Finally a buffing wheel is used along with a buffing compound to lightly melt away the fine imperfections down to the naturally glossy and transparent polished edge finish. This method is suitable on square or radiused workpieces with beveled or curved edges.
Flame polished finish
Where buffing wheels or diamond polishers cannot be accessed (such as internal cutouts), a high temperature flame can be used as the final stage to reduce small imperfections down to nothing, also producing a high-gloss and transparent edge finish. In most cases preliminary sanding is still required to bring down the level of abrasion prior to flaming.
Different grades and specialty Acrylic
Extruded Acrylic
Most acrylic products are made from cast acrylic sheets which are sheets made from pouring acrylic resin between two plates of glass to form the sheet. Extruded acrylic is created by pushing acrylic resin through a roller to form sheets of plastic. The extrusion process is cheaper and has a lower molecular density than the cast process making it easier to thermoform and fabricate but less chemical and scratch resistant.
Generally the colour and thickness ranges are more limited for extruded acrylic, but it is still popular due to its low cost.
Acrylic Mirror
During manufacturing a thin layer of mirror is applied to one side of a clear acrylic sheet to produce gold, silver, rose gold and other colours of acrylic mirror. Acrylic mirror for the most part can be machined and fabricated in the same manner as regular sheets, although care must be taken to not damage the thin layer of mirror on the rear. Generally acrylic mirrors are only available in a 3mm thickness.
Gallery grade/anti-reflective Acrylic
For use in high-end gallery glazing, these acrylic sheets have a very mild satin finish on one face which breaks up reflections and glare while still maintaining extremely high optical clarity. Generally available in 2 or 3mm thicknesses.


